REVIEW · LISBON
Lisbon Photography Masterclass – Private Photography Lesson
Book on Viator →Operated by Aperture Tours · Bookable on Viator
Lisbon begs to be photographed. This private 3-hour masterclass pairs you with a pro photographer in the city itself, then turns the streets into your classroom—steady steps, smart viewpoints, and practical camera help as you go. You’ll work through classic Lisbon scenes like Alfama lanes and the miradouro outlooks, but with coaching that’s meant to stick.
What I love most is the mix of real shooting time plus instruction. You’re not just “looking at sights”; you’re learning how to frame them and how to get your camera to behave. Second big plus: you get one-on-one attention with your own camera, even if you’re brand new or you’ve used it for years.
One consideration: if you’re planning night shots or longer exposures, gear matters. One guest had trouble using a rented tripod because of the adapter setup, and without a solid tripod it’s tough to get clean results at slower shutter speeds.
In This Review
- Key Things I’d Prioritize in This Lisbon Photo Lesson
- Value, Timing, and What Your Money Actually Buys
- Meeting Point: Start Easy, Then Go Lifted
- Alfama: Where Lisbon’s Texture Becomes Your Lesson
- Portas do Sol: A Viewpoint That Teaches Composition
- Miradouro da Graça (Sophia de Mello Breyner Andresen): Higher Ground, Cleaner Lines
- Miradouro da Senhora do Monte: Extra Height, Extra Payoff
- Miradouro São Pedro de Alcântara: A Classic Angle With Real-World Camera Coaching
- Elevador da Gloria and Bairro Alto: Movement, Color, and Timing
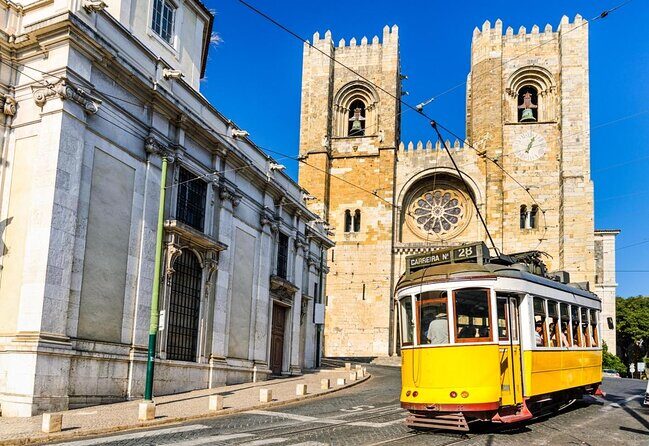
- Lisbon Cathedral (Sé de Lisboa): Finish With a Landmark You Can Work Many Ways
- The Coaching Style: Learn Basics, Then Apply Immediately
- About Tripods and Night Photography: Plan Ahead
- Weather, Mobility, and How to Dress for Lisbon Photos
- Who This Tour Fits Best
- Should You Book This Lisbon Photography Masterclass?
- FAQ
- How long is the Lisbon Photography Masterclass?
- Is this tour private?
- What language is the lesson offered in?
- Do I need to bring my own camera?
- Is a tripod included?
- Where does the tour start and end?
- What’s the weather like on tour?
Key Things I’d Prioritize in This Lisbon Photo Lesson
- Professional photographer guide who teaches while you’re actively shooting
- Private tour format (only your group) for questions and repeat tries
- Miradouro route built for different angles of the same Lisbon story
- Hands-on camera basics focused on city photography
- Tripod help, with some setup limitations if you’re using specialized gear
Value, Timing, and What Your Money Actually Buys
At $177.44 per person for about 3 hours, you’re paying for something that’s hard to replicate on your own: a pro photographer guiding your eye while you’re moving through Lisbon’s best photo zones. You also get a local guide plus the photographer guide, which matters here because Lisbon’s viewpoints and street networks work better when someone knows where crowds go and where locals linger.
In practice, that time window is tight but realistic. The route hits multiple neighborhoods and miradouros, so you’ll spend your energy on shooting rather than wondering which street to take next. If you’re hoping for a slow, all-day photo walk with zero pressure, this isn’t that. But if you want focused instruction plus results, it’s a strong format.
You can also read our reviews of more private tours in Lisbon


Meeting Point: Start Easy, Then Go Lifted
The tour starts at SOL Restaurante e Jardim, right by Largo das Portas do Sol (Beco de Santa Helena, 1100-411 Lisboa). That area is already in “photo mode,” which is a smart way to begin. You can get your bearings fast: you’ll be near a classic viewpoint zone, so you’re not spending your first minutes struggling to find good light.
The tour ends back at the meeting point, which is convenient. It also means you’re not left guessing how to get home after a final viewpoint session—your logistics are handled.
Alfama: Where Lisbon’s Texture Becomes Your Lesson
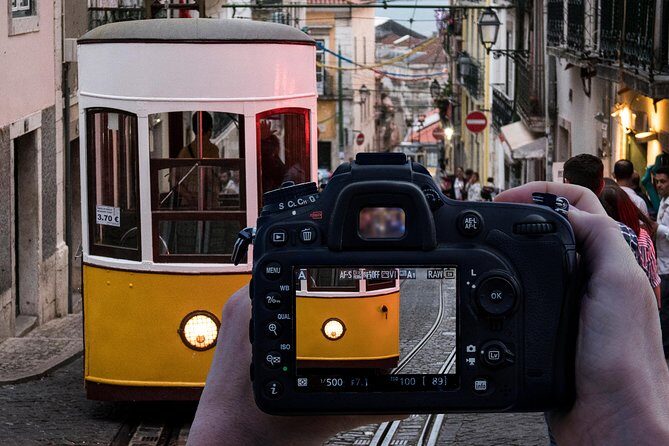
Your first stop is Alfama, Lisbon’s old neighborhood of steep lanes, textured stone, and scenes that look good even when the light is changing fast. This stop is valuable because it teaches you to shoot what you’re actually seeing, not just postcard angles. You’ll likely catch street life cues—people moving through narrow alleys, small storefront details, and the way buildings step up the hillside.
A drawback here: Alfama isn’t flat. It asks you to move with purpose, and it can be harder to pause for long compositions. The good part is that a photographer guide can help you choose a view quickly, then show you how to refine it instead of you spending 20 minutes trying to find the perfect spot.
What you’ll practice is basic city-photography technique: how to compose with messy streets, how to control your framing so the image tells a clear story, and how to adjust your settings as brightness shifts between shade and sun.
Portas do Sol: A Viewpoint That Teaches Composition
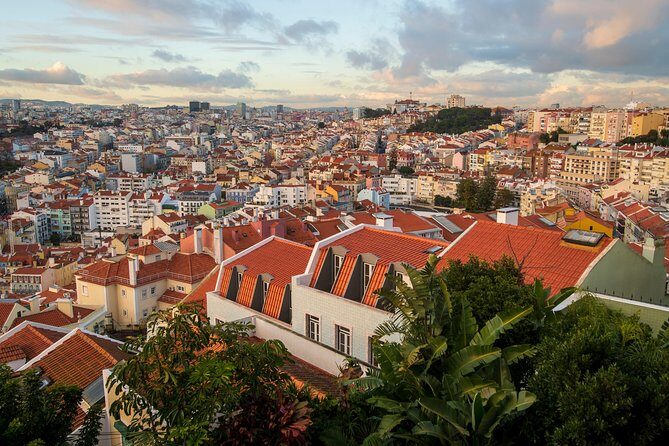
Next up is Portas do Sol, a classic miradouro area where you can see layers of rooftops and the city stretching outward. This stop is ideal for learning composition because the scene has depth. You’re not just aiming at one landmark—you’re arranging multiple layers: foreground rooftops, mid-ground streets, and the wider horizon.
The practical challenge is that viewpoints can be crowded, and Lisbon’s light can flip quickly as clouds move. Your guide’s job is to help you work fast: pick a direction, choose a stable angle, and then try a couple of variations rather than endlessly chasing the “best” exact angle.
This is also where your guide can coach you on how to capture the “pastel-colored paradise” look without washing out the scene. That usually comes down to camera control and smart exposure choices, not luck.
Miradouro da Graça (Sophia de Mello Breyner Andresen): Higher Ground, Cleaner Lines
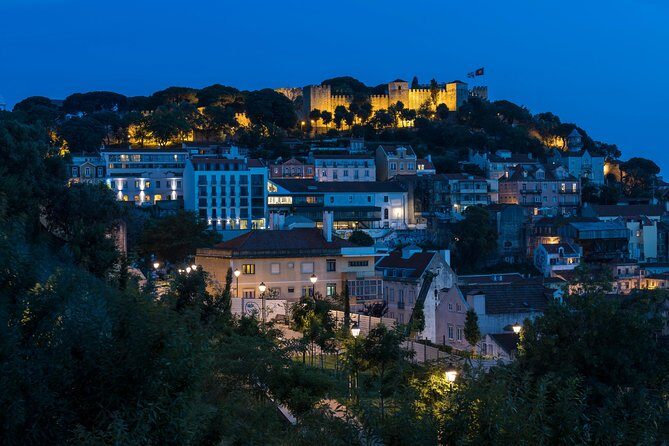
You’ll move to Miradouro da Graça (Sophia de Mello Breyner Andresen). Higher viewpoints like this are great for learning because they simplify chaos. From above, Lisbon starts behaving like a set of shapes: rooftops become pattern, and streets become lines you can use to lead the eye.
This stop is also a good moment for learning how to work with wide scenes using your own camera. You don’t need specialty gear to make Lisbon look dramatic—you need the right viewpoint, plus a basic plan for framing.
If you’re someone who usually zooms in and calls it a day, this is where you may learn to step back and make the whole city part of the composition.
You can also read our reviews of more photography tours in Lisbon



Miradouro da Senhora do Monte: Extra Height, Extra Payoff
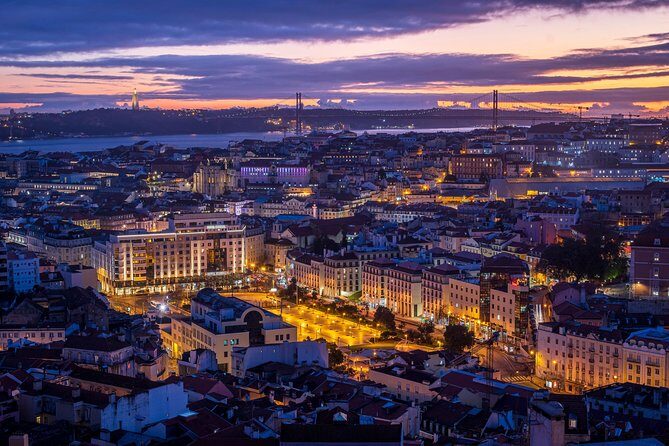
At Miradouro Da Senhora Do Monte, you’re climbing into a different feel. The higher you go, the more the city becomes a “map,” and the more important it is to choose what you want to emphasize.
This is a strong stop if you’re learning to photograph distance—how to keep foreground interest while still showing the wider view. The photographer guide can help you decide whether to prioritize sky and atmosphere or emphasize the city’s layers. Either way, you’ll be actively shooting, then getting guidance on what to adjust.
A quick caution: if you’re using your camera settings manually, be ready to change them as the view moves between bright sky and darker buildings.
Miradouro São Pedro de Alcântara: A Classic Angle With Real-World Camera Coaching
Your route continues to Miradouro Sao Pedro de Alcantara. This viewpoint tends to be loved because it gives you a structured panorama—great for practicing how to balance a large scene without losing the details you came for.
From a teaching point of view, this stop is perfect for reinforcing basics. By now you’ve already shot in tighter streets and wider rooftop layers, so the guide can help you apply earlier lessons with better clarity. Instead of telling you what to do once, they can show you how your choices affect the final image.
If you’re disappointed with how your photos usually turn out, this is the part where it can click: not every shot needs the same settings. Lisbon lighting changes fast, and a pro guide can help you respond instead of just hoping.
Elevador da Gloria and Bairro Alto: Movement, Color, and Timing
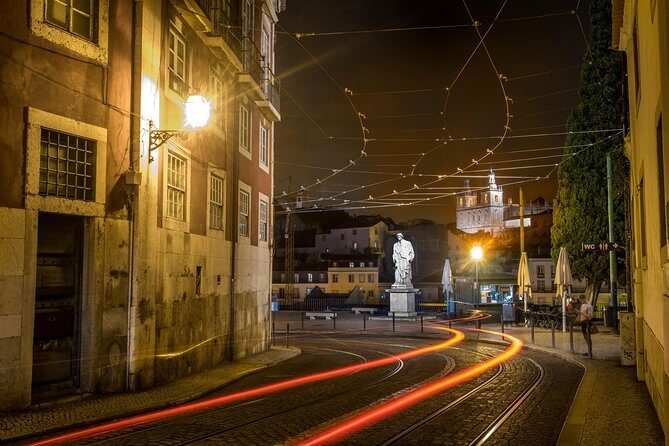
Then you hit Elevador Da Gloria, Lisbon’s iconic lift, which adds a different kind of photo opportunity to the mix: architecture plus motion and positioning. Even if you’re not chasing long-exposure night effects, you can practice how to photograph a structure that’s more dynamic than a simple overlook.
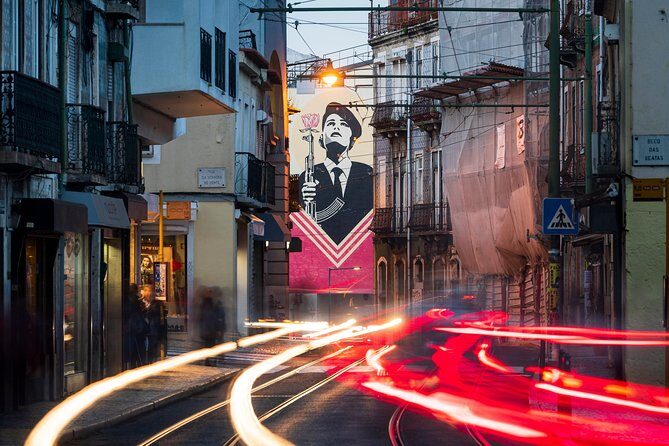
After that comes Bairro Alto, where you can shift from panorama framing to neighborhood storytelling. Bairro Alto is a good reminder that Lisbon photos aren’t only about big views. You can also capture people and atmosphere as you wander, and your guide can help you decide when to let motion blur happen naturally and when to slow down for crisp detail.
The route here is also a lesson in pacing. You’ll learn to shoot while moving, not only when you stop—because Lisbon won’t wait for your tripod to warm up.
Lisbon Cathedral (Sé de Lisboa): Finish With a Landmark You Can Work Many Ways
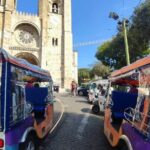
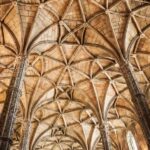
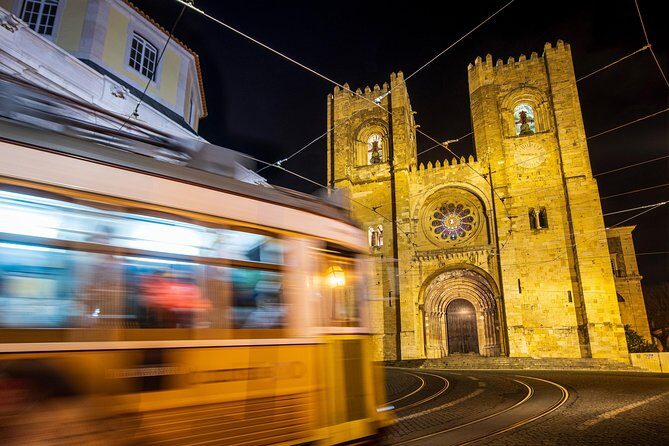
The final major stop is Lisbon Cathedral. Landmarks like this are useful for learning because they give you strong shapes—arches, stone textures, and a clear subject. You can shoot it straight on, at an angle, or with surrounding streets as context.
This finish makes sense because by now you’ve been practicing viewpoint photography and street photography. The cathedral becomes a way to combine both: a place with identity that also fits into the city’s visual rhythm.
It’s a solid place to run your “last attempts” and get your best set of images before you head back.
The Coaching Style: Learn Basics, Then Apply Immediately
One of the biggest strengths of this experience is that it’s built around practical teaching. The goal is to demystify your camera’s complexities and help you capture “the perfect shot” with your own gear. That’s not vague—your guide can watch your framing choices, see where your exposure goes off, and give you quick corrections you can try on the next street corner.
You also get flexibility based on your level. The lesson is described as suitable for beginners, hobbyists, and experienced shooters. In other words, you’re not forced into a single slow pace or a single one-size approach.
If you’re new, this tour can help you stop fighting your camera. If you already know the basics, it can help you use them faster, with better composition decisions in real city conditions.
About Tripods and Night Photography: Plan Ahead
There’s one important real-world lesson here: if you care about night photos and you’re bringing (or renting) specialized equipment, check your setup before you’re standing at a viewpoint with low light.
One guest reported that a rented tripod didn’t match their bracket system well, so they couldn’t use it as intended and ended up shooting handheld at longer shutter speeds, which made it harder to get decent night results. In response, the provider clarified that their photographers carry a Manfrotto Befree tripod compatible with most standard camera setups. The adapter problem seems to be about unusual bracket or strap systems, which sometimes require extra adjustments.
So here’s the practical advice: if you have an unusual tripod plate, quick-release system, or brackets, message the provider in advance if possible. That gives you a better chance of smooth help when you need it.
Weather, Mobility, and How to Dress for Lisbon Photos
This tour operates in all weather conditions, so you’re going outside in rain or shine. That matters for photography because Lisbon’s light changes fast when clouds roll in. For you, that’s a bonus—just be ready.
Wear shoes that handle slopes and uneven pavement. You’ll move through steep neighborhoods like Alfama and viewpoints across multiple miradouros, plus you’ll be stopping often. Dress for comfort and stability first; you can always adjust your camera technique, but you can’t adjust balance.
Who This Tour Fits Best
This is a good match if:
- You want private, personalized guidance rather than following a big group schedule
- You’re learning the basics and want confidence with your own camera
- You want Lisbon viewpoint photos without guessing your way through Alfama and the miradouro route
- You enjoy photography enough that feedback will change your results
It may not be the best match if:
- You’re expecting unlimited time to linger at one spot for hours
- You’re heavily dependent on long-exposure night setups without any flexibility
- You prefer a pure sightseeing tour with zero camera instruction
Should You Book This Lisbon Photography Masterclass?
Yes—if your goal is better photos with coaching, not just photos with no guidance. The private format and professional photographer guidance are the real value, especially as you move from Alfama streets to multiple miradouros and finish at Lisbon’s cathedral. You’ll come away with images you can tell a story with, plus the start of a repeatable approach to city photography.
If night long-exposure is your top priority, do a quick check on tripod compatibility or plan to ask about support before the tour. With that small piece handled, this is a smart, efficient way to get Lisbon’s best angles while learning how to see and shoot them.
FAQ
How long is the Lisbon Photography Masterclass?
It runs for about 3 hours.
Is this tour private?
Yes. It’s a private tour/activity, and only your group participates.
What language is the lesson offered in?
The tour is offered in English.
Do I need to bring my own camera?
A camera is not included, so you’ll need to use your own.
Is a tripod included?
A tripod is not included. Tripods are available to rent.
Where does the tour start and end?
It starts at SOL Restaurante e Jardim, Largo das Portas do Sol, Beco de Santa Helena, 1100-411 Lisboa, Portugal. It ends back at the same meeting point.
What’s the weather like on tour?
The experience operates in all weather conditions, so you should dress appropriately.